Viewing The Message Store
You can use the ThinkAutomation Studio or a web browser to view and search the Message Store. Messages are added to the message store as they are received by the Message Sources. Click the Message Store tab on the ThinkAutomation Studio ribbon.
Messages are viewed by Solution - to change the currently selected solution - click the Solution drop down menu on the Ribbon.
All automations within the solution will be shown. Select an Automation to view processed messages.
Messages are shown in pages of 1000 messages per page. Use the Page < and > selectors to move pages or press PgUp/PgDn buttons.
Search And Filter
Use the Search bar to search messages by subject, from/to address, attachment names, and automation return value. Multiple search terms are treated as AND conditions (e.g., sales order returns messages containing both sales and order). To search for a phrase containing spaces, enclose it in quotes.
Click the Filter button for additional filtering options:
- Processed Status: All, Success Only, or Failed Only. Failed messages include at least one automation error. Hover the red (!) icon to view the last error, or open the message to view the automation log.
- Message Flags: Messages may be assigned a Flag in an automation using the Set Message Store Flag action. Flags are defined under Server Settings - Message Store Flags. You can also manually flag a message by right-clicking it and selecting Set Flag.
- Date Range: Enter From and To dates and click Apply.
You can also filter the current view by clicking the filter icon in the messages grid column headers.
Message Body Full Text Search
By default, searches include from/to addresses, subject, attachment names, and automation return value.
To include message body text, enable:
Solution Properties - Keywords - Extract And Save Unique Keywords For Messages Added In This Solution
When enabled, ThinkAutomation automatically extracts unique keywords from the message body and adds them to the search index.
Viewing Message Detail And Logs
Double click a message or click the Open button to view the full message body, attachments, headers and the automation log for the message. Once the message preview pane is open it will refresh as you select other messages in the grid. You can drag the preview pane outside of the ThinkAutomation Studio. You can then edit an automation with a previously processed message open. This is useful if you need to view the automation log of a processed message whilst editing the automation.
Folders
Processed Messages can be organized into folders. Each automation has a root folder. Below each automation you can create sub-folders (with multip). To create sub-folders, right-click a folder and select Create Sub Folder. To delete a folder, right-click a folder and select Delete. All messages in the folder (and its sub-folders) will also be deleted.
You can move existing processed messages into any sub-folder. Select a message (or range of messages), right-click and select the Move To menu option.
Processed messages can be assigned to a folder during automation processing using the Set Message Store Folder action.
Reprocessing Messages
Individual messages can be reprocessed. Select a message (or range of messages) and click the Reprocess button. The selected messages will be added back to the process queue and processed again by the automation.
Deleting Messages
You can remove individual messages from the message store or you can remove all messages for the selected automation/folder.
Viewing Outgoing Messages
If you use the Send Email action to send scheduled emails on future dates then these scheduled messages are held in the Outbox until they are sent. The Outbox can be viewed by clicking the Outbox button on the message store view. You can remove items from the Outbox to prevent them from being sent.
Viewing Sent Items
Any outgoing emails sent using the Send Email action will be shown in the Sent Items view. You can disable outgoing emails being stored using the Automation - Properties - Save Outgoing Emails To Sent Items option.
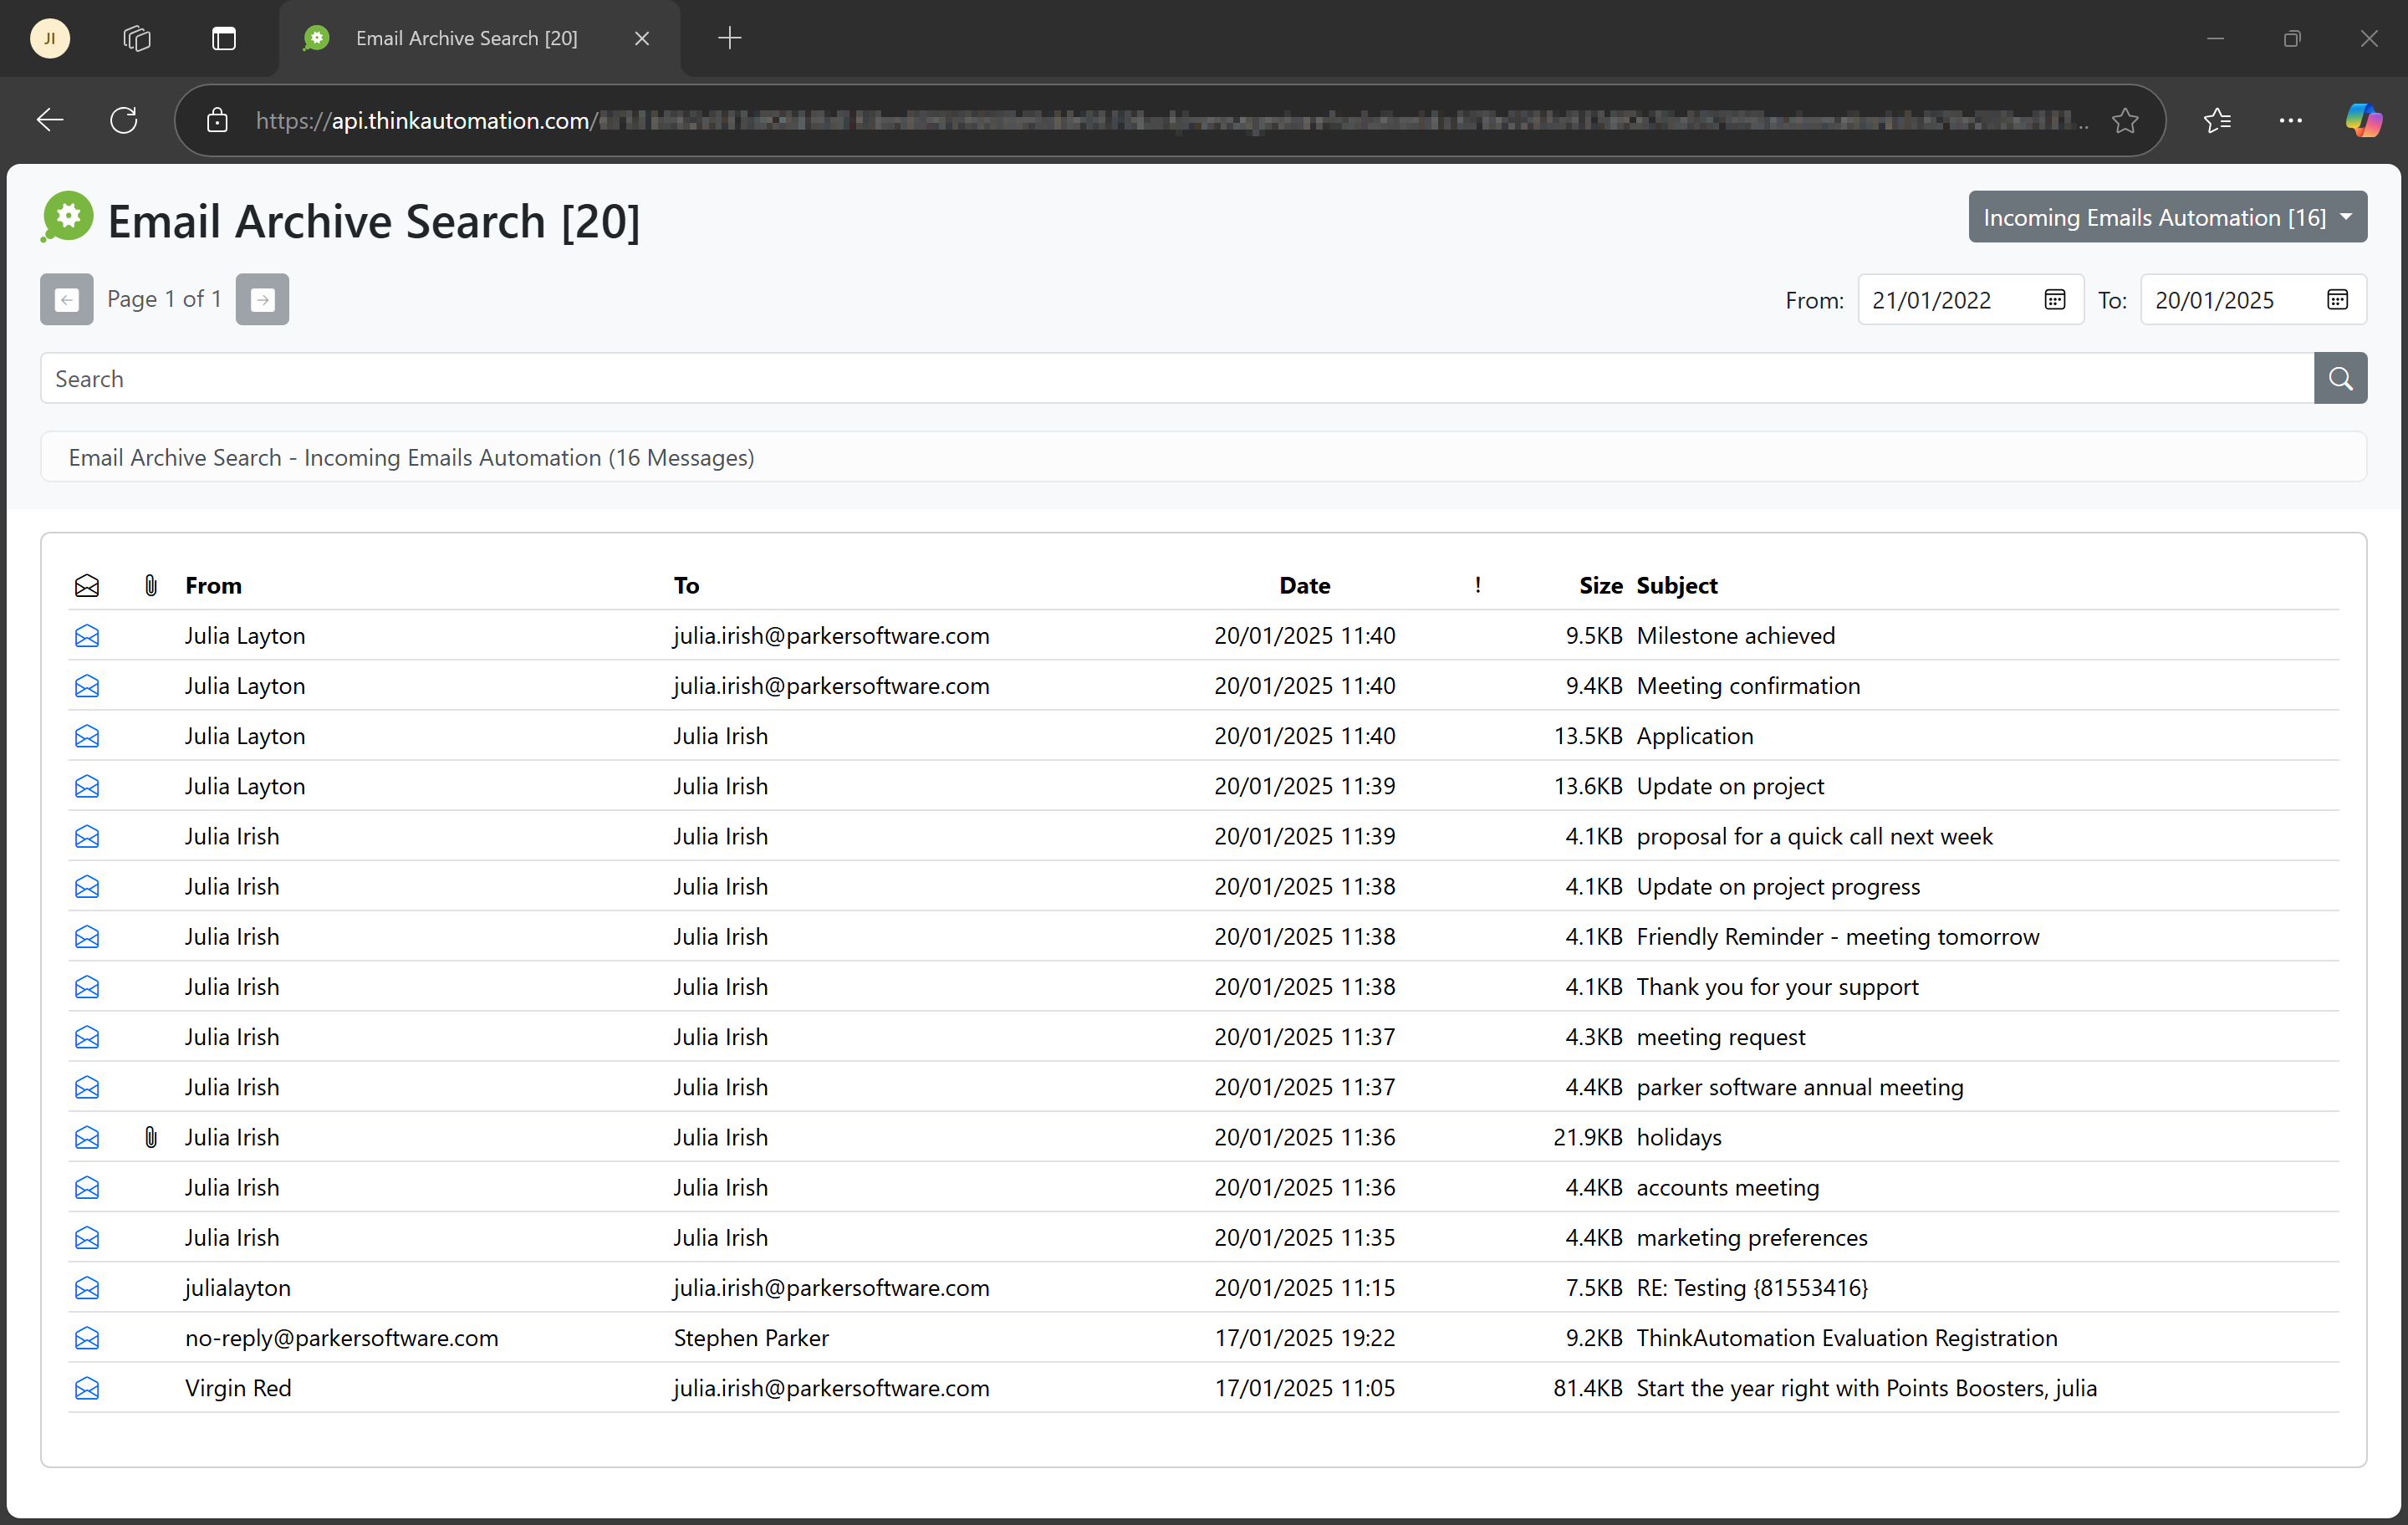
Web Based Message Store Viewer
You can also view the Message Store using a web browser. This provides a secure local and public web interface for viewing and searching your message archive. The layout can be customized to align with your corporate branding or to add extra functionality.
The web message store Viewer is enabled on a per-solution basis. From the Solution properties page, select the Web Message Store Viewer tab. Enable the Enable Web Based Message Store Viewer option.
Note
The web message store viewer requires ThinkAutomation Standard or Professional edition.
Enable the Enable Access Via Public URL option if you want to allow access via Web API Gateway public URL. This will work from any location.
Enable the Require Login option if users must login with a valid ThinkAutomation Username/Password before viewing messages.
The Public URL box shows the URL for the public interface.
The Local URL box shows the local URL. This will work locally and on your local network (replace 'localhost' with the IP/DNS name of your ThinkAutomation server computer).
By default the web view will show a menu containing all automations in the solution. The user can select an automation to view processed messages. If the Show Automations Menu option is disabled, then all messages for the solution will be shown.
Messages can be searched by entering any search text and clicking the search button. Enable the Show From And To Date Selectors if you want to include from/to dates on the search form.
Messages are shown in pages. The user can click the Previous and Next buttons to change pages. You can adjust the number of messages shown per page using the Messages Per Page entry.
When viewing messages - click a message line to view the full message detail. From the full message view, you can click attachments to view attachment contents.
You can customize the column position and visibility via the Server Settings - Web Message Store Viewer.
Customizing The Default Layout
You can customize the HTML template used for the message store viewer by editing the messagestoreviewtemplate.html and messagestoreviewtemplatelogin.html files in the Program Files\ThinkAutomation folder. These should be saved as messagestoreviewtemplate_custom.html and messagestoreviewtemplatelogin_custom.html. The custom ones will be loaded first if they exist. The default files will be overwritten during any ThinkAutomation updates, so ensure you save with '_custom' appended to the filenames.
Note
The ThinkAutomation Server service will need to be restarted if you change the template files.
Ensure not to remove any <!--Comment--> lines or %placeholder% variables. You will need to restart the ThinkAutomation Service after making any changes.